How to make a Progressive Web App
In this tutorial, we will make a Progressive Web App (PWA) in its simplest form. This means we will make a bare-bones website with no features and want it to be installable. If you are serious about making a PWA, you can extend the framework created here.
To make a PWA, we need a manifest.json file.
Let us get into it.
¶Setup
Before we get to coding, we set up our project.
¶Folders and Files
Setup the following file structure somewhere on your computer, but you should view the file in a localhost context so you can test it. We need two javascript files. One holds the code for our App and the other for the service worker. Then we also have the manifest.json file and an image in a folder that will serve as our App’s icon; it is 200 by 200 pixels large.
Our Project
│
├─ images/
│	└─ icon_200.png
├─ app.js
├─ index.html
├─ manifest.json
└─ service-worker.js
¶HTML and CSS
Now let’s get to setting up the HTML and CSS. We use the standard scaffolding for HTML and set a title and a favicon.
<title>Simple PWA</title>

<link  rel="shortcut icon"  href="images/icon_200.png"  type="image/x-icon">
We also set some CSS that centers all the content using the flexbox power.
<style>
    body {
        display: flex;
        justify-content: center;
        align-items: center;
        flex-direction: column;
        height: 100vh;
        margin: 0;
        font-family: 'Segoe UI', sans-serif;
    }
    * {
        margin: 0
    }
</style>
Last but not least, we insert some content into the body of our website.
<h1>Sjs
## Conclusion
Excellent! You have successfully created a Progressive Web Applin ho o eu a can fe o is rorm.**
oeimplerogressiveebpp i heioeeihseicole P-progressive W-web-app</h1>
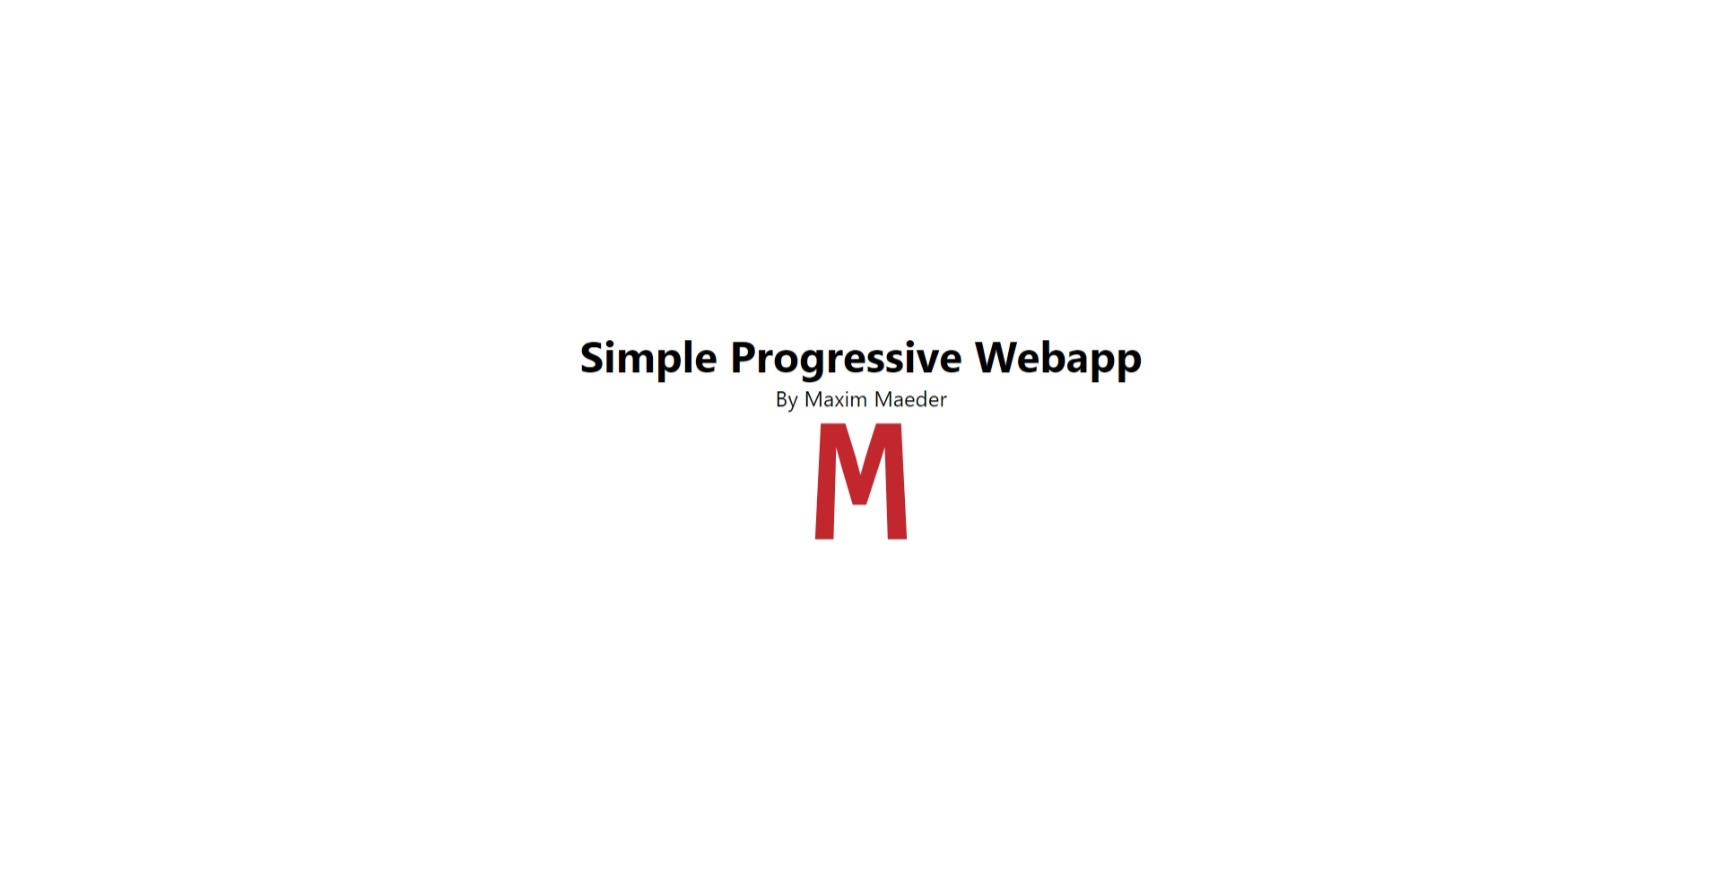
<p>By Maxim Maeder</p>
<img src="images/icon_200.png" alt="Logo" width="100">
Now the website should look like this. The big M is our little icon.
¶Manifest.json
Ok, let’s get to the Manifest.json File. This document will tell the browser different things about the web app. This information is organized in a json object with meaningful keys. Below you see our manifest.json file. It would be best if you supplied a name and a start_url, which tells the browser the starting page, how it should be displayed, what color should be shown while loading, and where to find icons for the App. More keys extend the features of your App, but these are sufficient for installation. It is important to set at least one icon that is larger than 200px-tutorial-f9708e5f2605)
Web app manifests | MDN
*Write down all possible keys of the manifest, with a column showing wether their are mandatory and an example. Must be linked to in theight and width and with a purpose set to any.
{
    "name": "Simple PWA",
    "start_url": ".",
    "display": "standalone",
    "background_color": "#fff",
    "icons": [
         {
            "src": "images/icon_200.png",
            "sizes": "200x200",
            "type": "image/png",
            "purpose": "any"
         }
    ]
}
We have to import this the manifest.json file using the code below at the head of our page. This is all we have to do for this part.
<!-- Import the manifest.json File -->
<link  rel="manifest"  href="manifest.json">
¶html of the index page. Illustrator can export images in multiple sizes at once.*
[Using Service Workers | MDN](https://developer.mozilla.org/en-US/docs/Web/API/Service-w_Worker.js
Now for the s_API/Using_Service w_Worker. This is simply a js file that handles the cool features of a progressive web app. It runs in the background, so it does not have access to the DOM. In the simplest form, it handles caching files for offline usage of the App.
First, we import the app.js in our index.html.
<script src="app.js"></script>
Then in that file, we call s)
*1. Must be served over HTTPS (or localhost).
2. Path to it hast to be absolute ( /sw.js )
3. Could be unsupported ( check withe navigator.'serviceWorker.register(path) function with the file’s path.
var worker = navigator.serviceWorker.register('s' in navigator` )
[4.](https://developer.mozilla.org/en-US/docs/Web/API/Service-w_Worker.js')
In the s_API/Using_Service-w_Worker.js file, we start by making a function that will cache our files. We begin by opening a cache with the caches.open(string) function. Then we add the paths of all the resources we want to cache with the addAll method. So these files will be downloaded to the user so they can be accessed without an internet connection.
function CacheStuff() {
    var cache = caches.open('v10');
    cache.addAll([
        '/',
        '/index.html',
        '/images/icon_200.png'
    ])
}
Afterward, we set up an event listener with the install event. We can use this here because the file will know we mean the service-worker when we run it in that context. If this event occurs, we want to call our CacheStuff() function. This means it will download all the necessary resources upon installing the App.
this.addEventListener('install', (event) => {
    event.waitUntil(CacheStuff())
})
Last, we also handle the s#registering_your_worker) Is regristrated with
navigator.serviceWorker.register(path)
5. We must add stuff to the cache for it to be available offline 6. install and fetch event, which occurs whenever the user agent wants to access any resource. Here respond to that request with the resources in the cache by matching it.
this.addEventListener('fetch', (event) => {
  event.respondWith(
    caches.match(event.request)
  );
})
That’s It! Now the App is installable, and It will work offline.
¶Conclusion
Excellent! You have successfully created a Progressive Web Application! See how you can fine-tune the App so lighthouse and your users are happier!
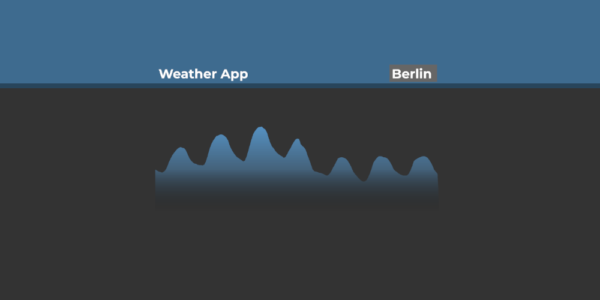
Project on GitHub
[Simple PWA (maximmaeder.com)](https://expenses.maximmaeder.com/.*


Leave a Reply