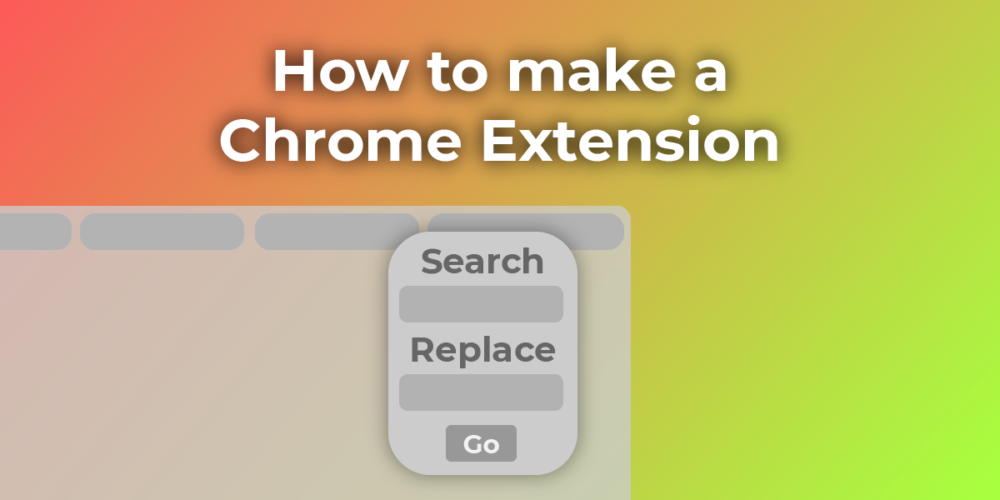
How to make a Chrome Extension
In this Tutorial, we will learn how to make a simple chrome extension that enables users to search and replace any text on a webpage. This extension won’t be really useful, but it will teach you how to make extensions for chromium-based browsers (chrome and edge). Remember that this is also my first extension so look at this tutorial as an entry in my learning diary. I will also show you how to test your extension in a chrome/edge browser.
¶Making the Extension
Now let’s make an extension! I will show you key concepts as we go, and we will start with the manifest.json file that specifies meta data about the extension.
¶manifest.json
This .json file is situated in the root of our extension project folder, and you see our example below.
{
    "name": "Website Text Replacing",
    "version": "0.0.0.1",
    "manifest_version": 3,
    "description": "Replace any text in the website with this simple extension.",
    "action": {
        "default_popup": "popup/popup.html"
    },
    "icons": {
        "16": "icon/icon.png",
        "32": "icon/icon.png",
        "48": "icon/icon.png",
        "128": "icon/icon.png"
    },
    "content_scripts": [
        {
            "matches": [
                "<all_urls>"
            ],
            "js": [
                "content/content.js"
            ]
        }
    ]
}
And its object contains info about our extension, like the name, version, manifest version, and description. These are self-explaining things, but what about the action, icons, and content_scripts. The icons object will be used when the browser displays your extension in the top left or where ever it is seen; here, we can specify icons for different sizes; for now, I have set the same image for all sizes. The actions object contains info about the popup button in the top right of the browser window, we can specify a bunch of stuff here, but for now, we only specify the path of the HTML page that should be displayed in the popup. lastly, the content_scripts object specifies which js files should be inserted and available in the webpages. Matches is a list of string glob patterns of URLs where these content scripts should be inserted.
The script used on the popup page will communicate with the content script on the current page.
Look at the official documentation for more options.
¶popup.html and popup.js
Let’s go over the popup HTML page and its JavaScript Code. As you see, it’s a simple page with two inputs with ids so we can access their values later and a button serving as our submit. In the head, we add a CSS file and the js script. We add the defer attribute to the script so it will execute after the page is fully parsed.
<html lang="en">
    <head>
        <meta charset="UTF-8" />
        <title>Replace Website Text</title>

        <link rel="stylesheet" href="popup.css">
        <script src="popup.js" defer></script>
    </head>
    <body>
        <div>
            <div>
                <label for="">Search</label>
                <input type="text" id="search" autofocus>
            </div>

            <div>
                <label for="">Replace</label>
                <input type="text" id="replace">
            </div>

            <button>Replace</button>
        </div>
    </body>
</html>
In the JavaScript file for the popup we make use of the chrome.* API Object that is exposed to you if the script runs in an extension context. But first, we add an event listener to the button, and inside it, we use the query(opts, callback) method of chrome.tabs, which will search for all tabs that satisfy the query object and it will pass them on to a callback function. In our case, we want the active tab, so we set active to true. This means the resulting list will only include one item. In the callback, we use the sendMessage(data) method of chrome.tabs to send data to the given tab, for which we need the id. Our data includes the search and replace values of the inputs we defined in the HTML.
const button = document.querySelector('button')

button.onclick = function () {

    chrome.tabs.query({ active: true }, tabs => {

        console.log('Sending Info to The Content Script ...');

        chrome.tabs.sendMessage(tabs[0].id, {
            searchString: search.value,
            replaceString: replace.value
        })

    });
}
¶content.js
Let’s also review the content script, which will listen to these messages and react accordingly. To add an event listener to the messages for this tab we use chrome.runtime.onMessage.addListener(callback). That receives the data we constructed in the previous script and uses it to alter the HTML of the current page via the normal web APIs.
console.log('Replacement Script Running ...');

chrome.runtime.onMessage.addListener(ev => {
    const searchString = ev.searchString
    const replaceString = ev.replaceString

    console.log(`Replacing "${searchString}" with "${replaceString}"`);

    document.body.innerHTML = document.body.innerHTML.replaceAll(searchString, replaceString)
})
¶Testing the Extension
Testing the extension is easy.
- Go to where your extension is managed.
- Enable Developer Mode.
- Click on Load unzipped Files
- Choose the folder where your
manifest.jsonis located. - Activate the Extension
Now it will tell you if you made any error with the manifest file, or in case you run it.
¶Conclusion
Now that was a quick introduction to Extension in chromium based browsers. Now you could go through the docs and find other cool things you can do like Keyboard Shortcuts or Context Menu.


slot 918kiss
Hey! This is my first visit to your blog! We are a group of volunteers and starting a new project in a community in the same niche. Your blog provided us valuable information to work on. You have done a wonderful job!