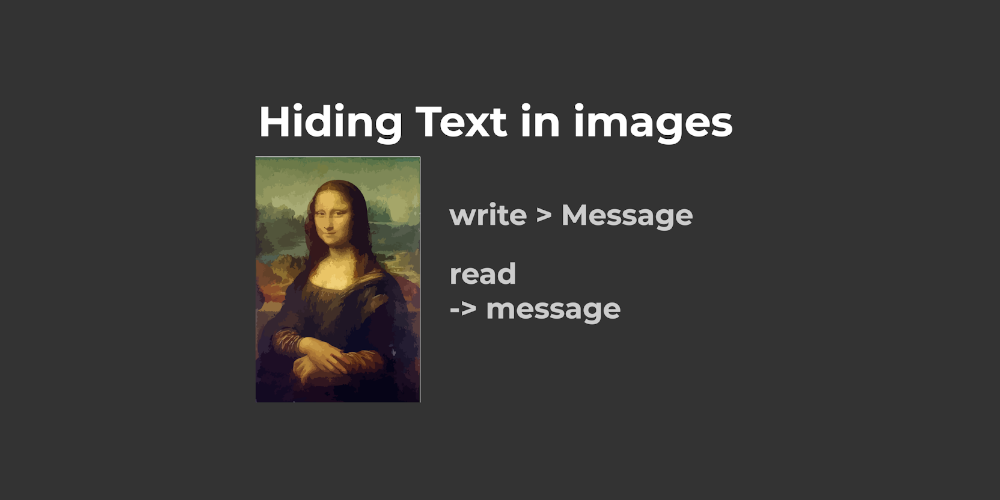
How to hide text in images with python.
As Wikipedia states Steganography is the practice of concealing a message within another message or a physical object and today, we are going to do this. We will make a program that writes text to images and reads it from there. We assign pixel values to each possible character. This is just a barebones version that you can use as a basis or inspiration for other programs like this.
So let us get started.
¶Imports
For this little program, we need three modules/libraries. We get the Image class from PIL so we can manipulate images. Then we also get ArgumentParser from argparse, so we have an easy time asking the user for arguments. Last but not least, we get string which has some constants containing letters and digits.
# Imports
from PIL import Image
from argparse import ArgumentParser
import string
¶Setting up the ArgumentParser
Now that we have the ArgumentParser class, we must set it up. For this, we make a new ArgumentParser object, and then we call the add_arguement() three times. We add the positional argument path, which has to be always specified. Then also the mode which is read by default. And also the text argument, which we only have to supply when the mode is write. Finally, we also parse the arguments with parse_args() and save them to a variable.
# Command Line Arguments
parser = ArgumentParser()

# Keep in mind this will only work with uncompressed images (png)
parser.add_argument('path')
parser.add_argument('-mode', default="read")
parser.add_argument('-text')

arguments = parser.parse_args()
¶Opening the image
Now we use the Image class to open the image at the path the user has specified. We then get the width and height.
# Open the image.
image = Image.open(arguments.path)

# Get the image size and save it.
width, height = image.size
¶Setting up Variables
Next, we define some variables. We first have two variables that contain the RGB tuples of the starting and ending pixel. This is used to know where the message starts and ends, but we currently only use the endingPixel variable.
After that, we also define two dictionaries that will contain the relations between letters and pixels.
startingPixel = (10, 10, 255)
endingPixel = (255, 20, 20)

# Dictionary which hold the relations between pixels and characters
lettersToPixels = {}
pixelsToLetters = {}
To fill these dictionaries, we use a loop. We enumerate over the ascii_letters, digits, and ' ' and store them in the dictionaries.
# Making the relations using the string library
for i, letter in enumerate(string.ascii_letters + string.digits + ' '):
    lettersToPixels[letter] = i
    pixelsToLetters[i] = letter
¶Writing to an image
Now let us get to hiding messages in images. If the mode specified by the user is write, we know the user wants to write. But we also check if the text was set. After that, we also assert if the text length is greater than the image width.
if arguments.mode == "write":
    if arguments.text != None:
		# check if the string would exceed the maximum ( width )
        assert len(arguments.text) < width
After that, we draw the starting pixel onto the image at position (0, 0), which is the top left.
		# Draw the starting Pixel
        image.putpixel((0, 0), startingPixel)
After that, we loop / enumerate over the text the user has given us. We draw the pixel representing this character at (index+1, 0), meaning the top row of pixels will contain the message. We added one because we already drew a pixel at (0, 0). The color is made up of (11, lettersToPixels[letter], 11), so the middle color, green, will change depending on the letter.
        # Draw a pixel for each letter in the test
        for index, letter in enumerate(arguments.text):

            # The Middle value (g = green) is the number in the dictionary
            image.putpixel((index+1, 0), (11, lettersToPixels[letter], 11))
At the end of the writing part, we also draw the ending pixel after the letters and save the image.
		# Draw the ending Pixel
        image.putpixel((index+2, 0), endingPixel)

        # Save the image to the same place
        image.save(arguments.path)
¶Read Function
Now, if the mode is read, we will try to read text from the image. To do this, we loop over the image until we encounter the ending pixel. We add one to the index at the end of the loop.
elif arguments.mode == "read":
    text = ''

    index = 1
    while True:
We get the pixel color (RGB) at the position. If the pixel is the endingPixel, we know that we are finished with reading, so we break out of the loop.
		# Loop throug each pixel in the top row
        pixel = image.getpixel((index, 0))

		# if the pixel is the ending pixel, we break the loop
        if pixel == endingPixel:
            break
After that, we try to get the letter associated with the pixel and add the letter to the text variable.
		try:
            # Get the letter from the dictionary with the g (green) value.
            text += pixelsToLetters[pixel[1]]
        except:
            pass

        index += 1
After the loop, we print out the text, so the user knows what was written in the image.
    # Print out the text
    print(text)
¶Showcase
Now let us see a showcase of the steganography program. We use the Mona Lisa, which is now in the public domain because Leonardo da Vinci died more than 70 years ago.
¶Conclusion
Excellent! You have successfully created a Program that writes and reads text hidden in images using Python code! See how you can add more features to this program, such as better hidden pixels or something.

Leave a Reply