Custom Svelte Store
Welcome to this relatively short and simple tutorial on creating a Custom Svelte Store that manages the current color scheme.
We will make it so the default color scheme from the Operating System is used, and then the Preferences are stored in Local Storage.
It will also register theme changes in other tabs, windows, and iframes. To do this, we will learn about the Broadcast API.
Lastly, we learn how to use our custom store in our application with Tailwindcss.
You’ll find the Demo for the finished code here.
To start, we create a new Vite project with the following command.
npm create vite@latest
You can now answer all the questions. Regarding the framework, you chose Svelte, and it does not matter if you only use Svelte or Svelte Kit because the feature we build here will work in both.
You can then run the project by typing npm run dev, assuming you are in your project folder where the package.json file lies.
¶Creating a Custom Svelte Store
How do we make a custom store? In Svelte regular stores are created with the readable/writable, but these functions actually just return objects with three properties: subscribe, set, and update.
We can create our own store by using the subscribe method of a regular store and return our own object.
The subscribe method/property is mandatory, but we can define other functions called whatever we want that can be called on the store object.
So let’s start by creating a new file called store.js and import the writable function from Svelte.
import { writable } from "svelte/store";
¶OS Default
We then continue by getting the OS default color scheme. In CSS we can apply styles conditionally based on the current color scheme with the prefers-color-scheme media query. And we can use the matchMedia function in js to find out if the media query is true or not.
// Get the OS default color scheme
const media_query = matchMedia("(prefers-color-scheme: dark)")
const os_default = media_query.matches ? "dark" : "light";
We could also add an event listener to the media query to listen for changes. but we won’t utilize this feature here.
¶Base Store
Next, we call the writable method with either the OS default or the value from local storage if defined.
We destructure the subscribe and update methods from the returned object.
// Get the current color scheme from local storage, or default to light
const { subscribe, update } = writable(localStorage.getItem("colorScheme") ?? os_default);
¶Broadcast Channel
Continuing, we create a new Broadcast Channel, a way to communicate between tabs, windows, and iframes. It’s important to note that the channel name must be the same in all the places we want to communicate. But in this example, it’s alright because we only have one channel.
// Create a channel so we can communicate with other tabs/windows/iframes
const channel = new BroadcastChannel("colorScheme");

// Listen for messages from other tabs/windows/iframes
channel.addEventListener("message", event => {
    update(() => event.data);
});
We can add an event listener to this channel for messages from other tabs, windows, and iframes. When we receive a message, we update the store with the new value, which will be light or dark.
¶Toggle Function
After that, we define a function that will be added to the store to toggle the current color scheme. This function will be the only way to change the color scheme.
For function, we use update, a method of the writable store. It takes a function as an argument, and this function will be called with the current value of the store. We can then return a new value, which will be the new value of the store.
const toggle = () => update(n => {
    const newColorScheme = n === "light" ? "dark" : "light"

    // Save the new color scheme to local storage
    localStorage.setItem("colorScheme", newColorScheme);

    // Send the new color scheme to other tabs/windows/iframes
    channel.postMessage(newColorScheme);

    return newColorScheme;
});
We also set the value in the local storage and, we post a message on the channel with the new color scheme.
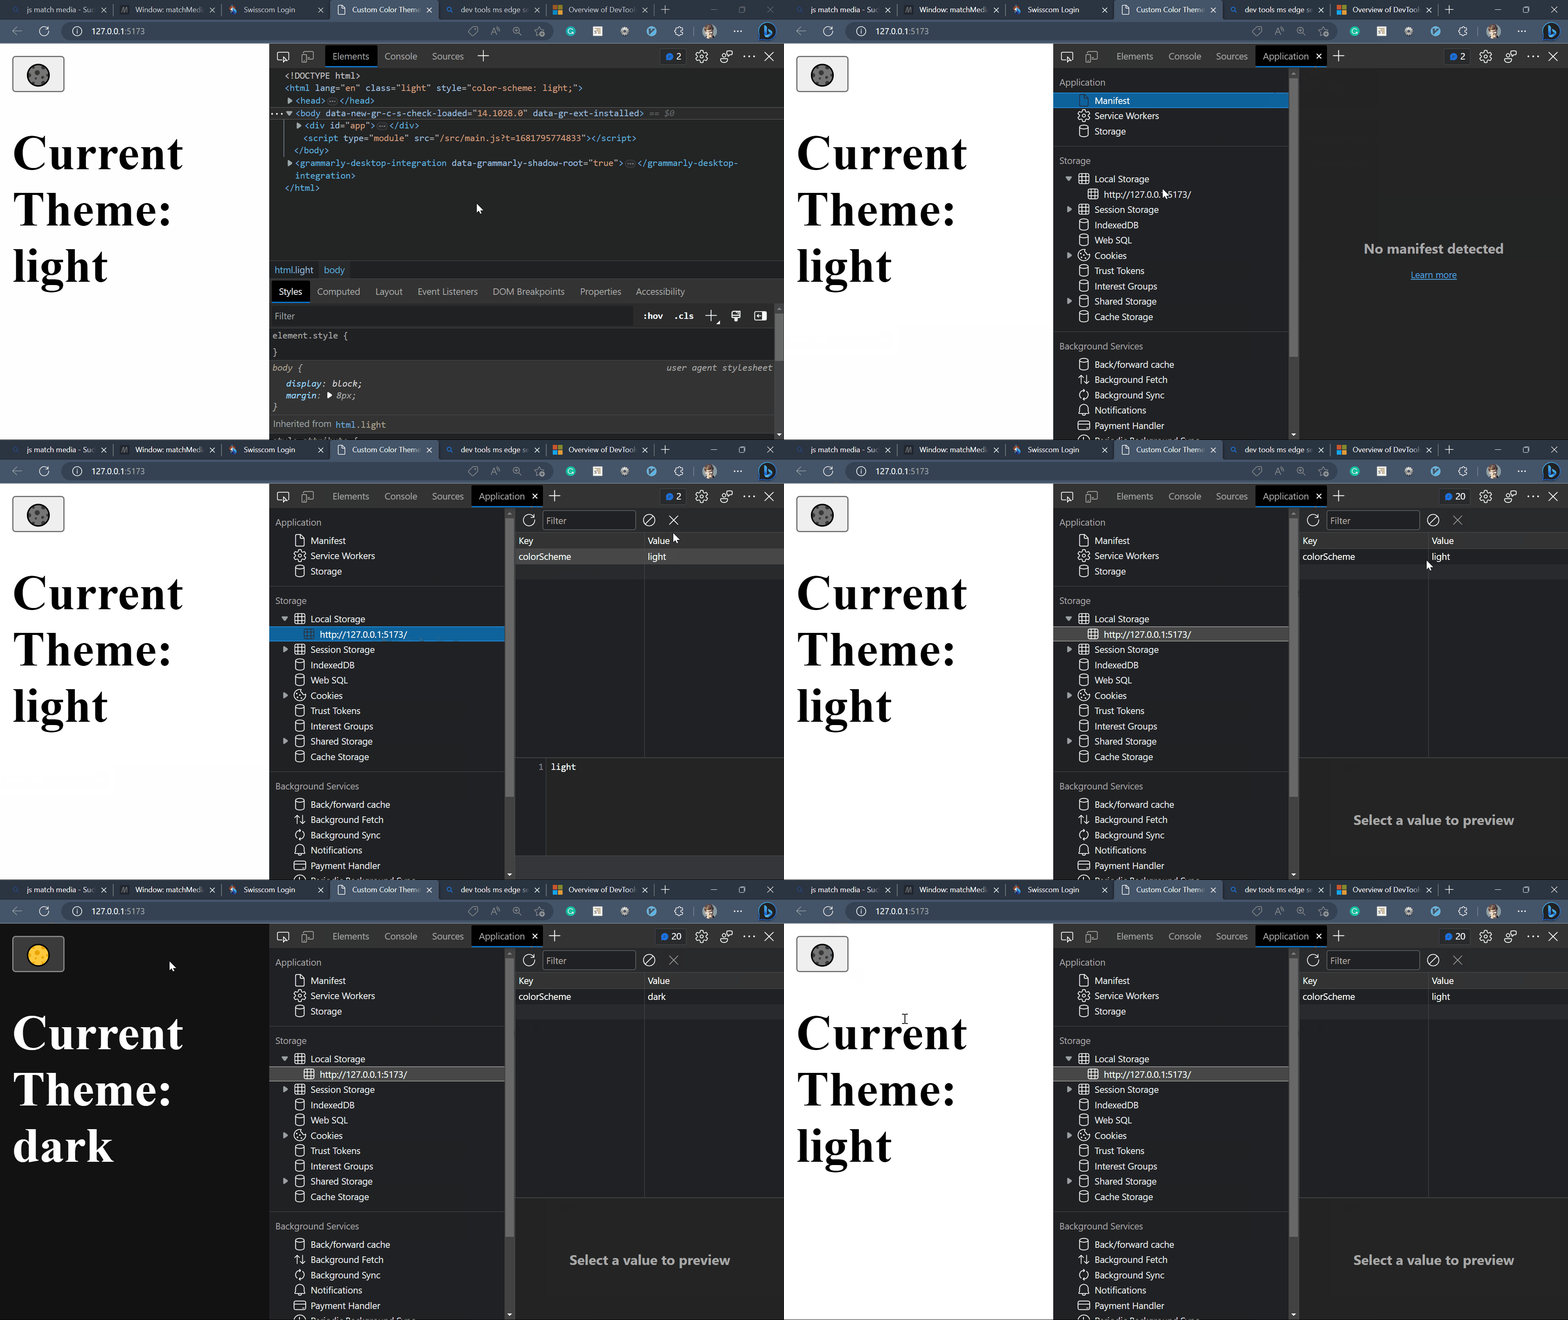
Below you see where to view values in the local storage with the dev tools in MS Edge.
¶Exporting the Store
Lastly, we export the store object with the subscribe and toggle methods.
// A store object must return a subscribe function, all other properties are optional.
export const colorScheme = { subscribe, toggle };
¶Using the Custom Svelte Store
Now we have a custom store that we can use in our application. We can import the store in our components like this.
<script>
    import { colorScheme } from "./store";
</script>
¶Handling Color Scheme in the styling
To handle our color theme store, we could set a class on the root element and use the class strategy in Tailwindcss.
<script>
    import { colorScheme } from "./store";

    // Set the color scheme each time it changes.
    // Doing it this way could be useful if you use Tailwind with the class strategy.
    $: {
        document.firstElementChild.setAttribute("class", $colorScheme);
        document.firstElementChild.style.colorScheme = $colorScheme;
    };
</script>
¶Toggle Button
Lastly, to toggle the color scheme, we can add a button that calls the toggle function on the store.
<button on:click={() => colorScheme.toggle()}>Toggle</button>
¶Conclusion
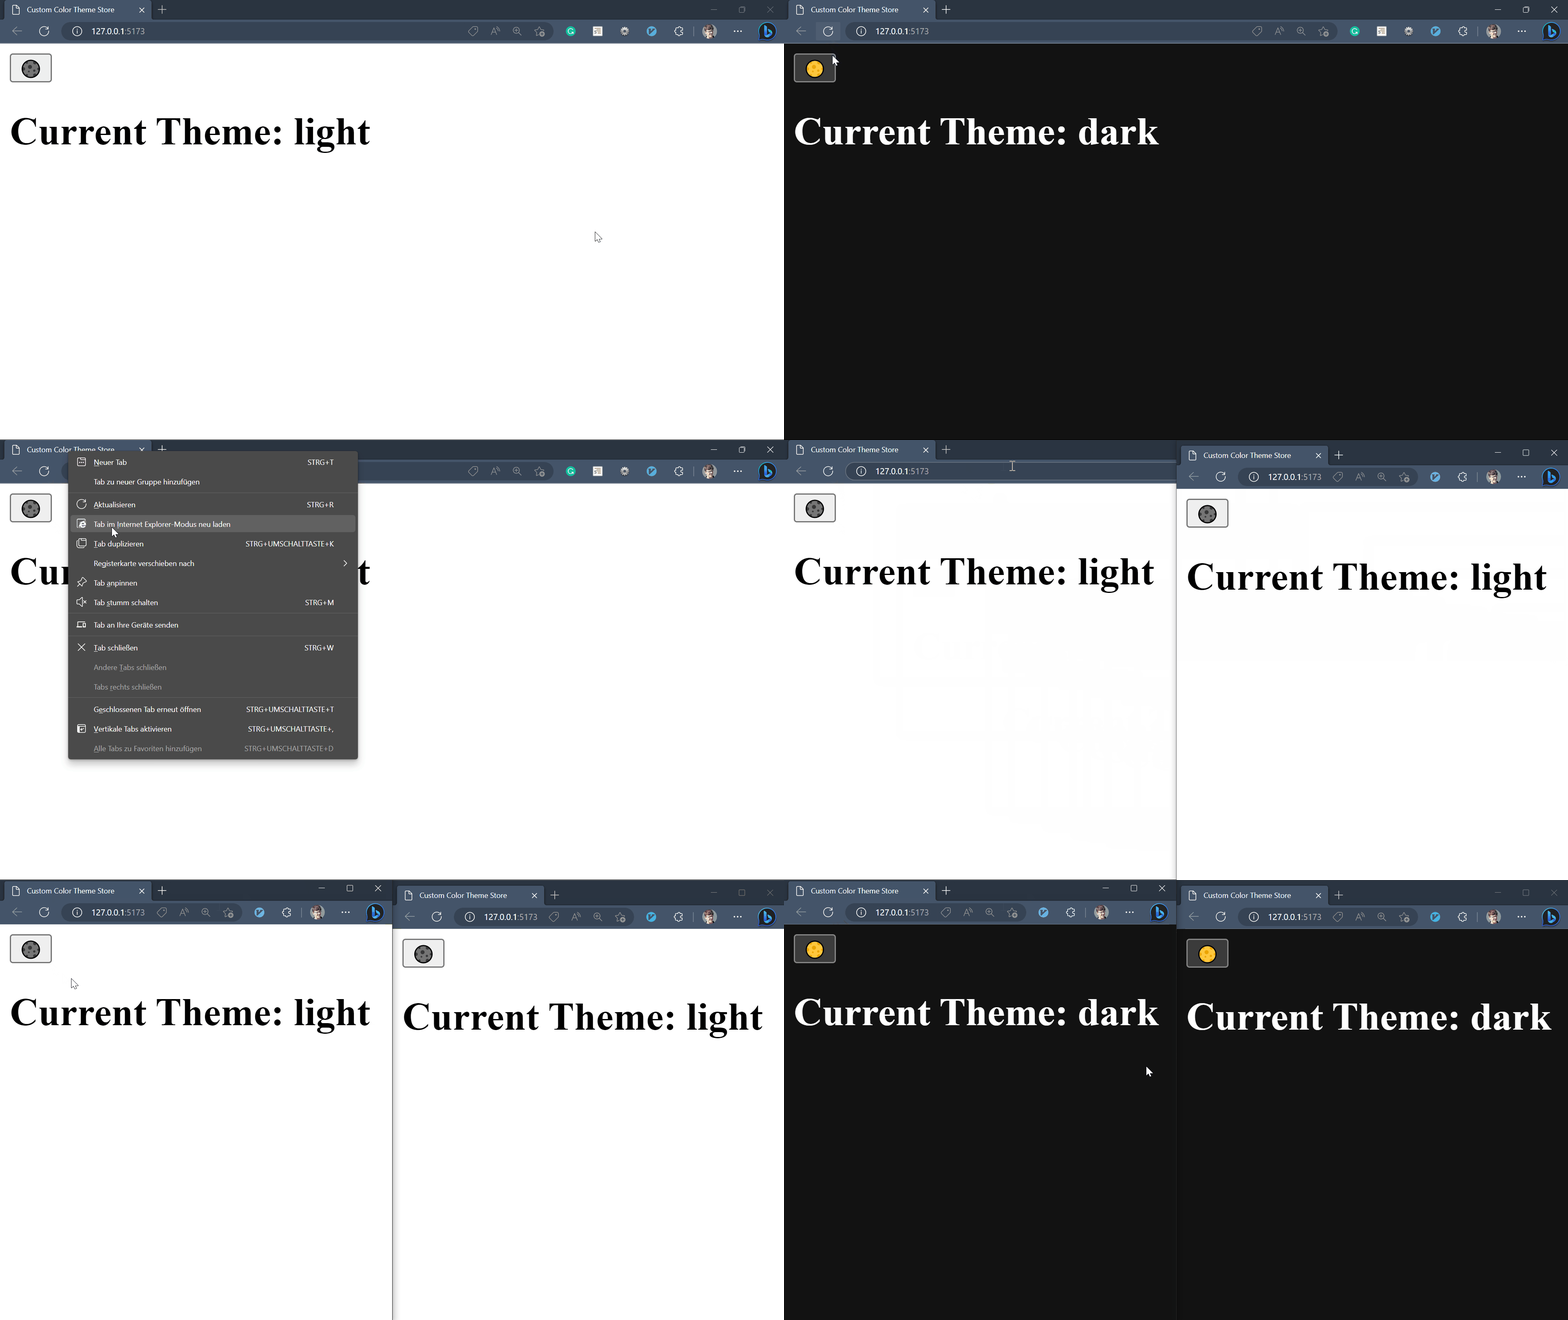
Thats it! We now have a custom store that we can use to toggle the color scheme in our application. This store will even register changes on other tabs, windows, and iframes.
In the video Below, you can see the store in action.



Leave a Reply